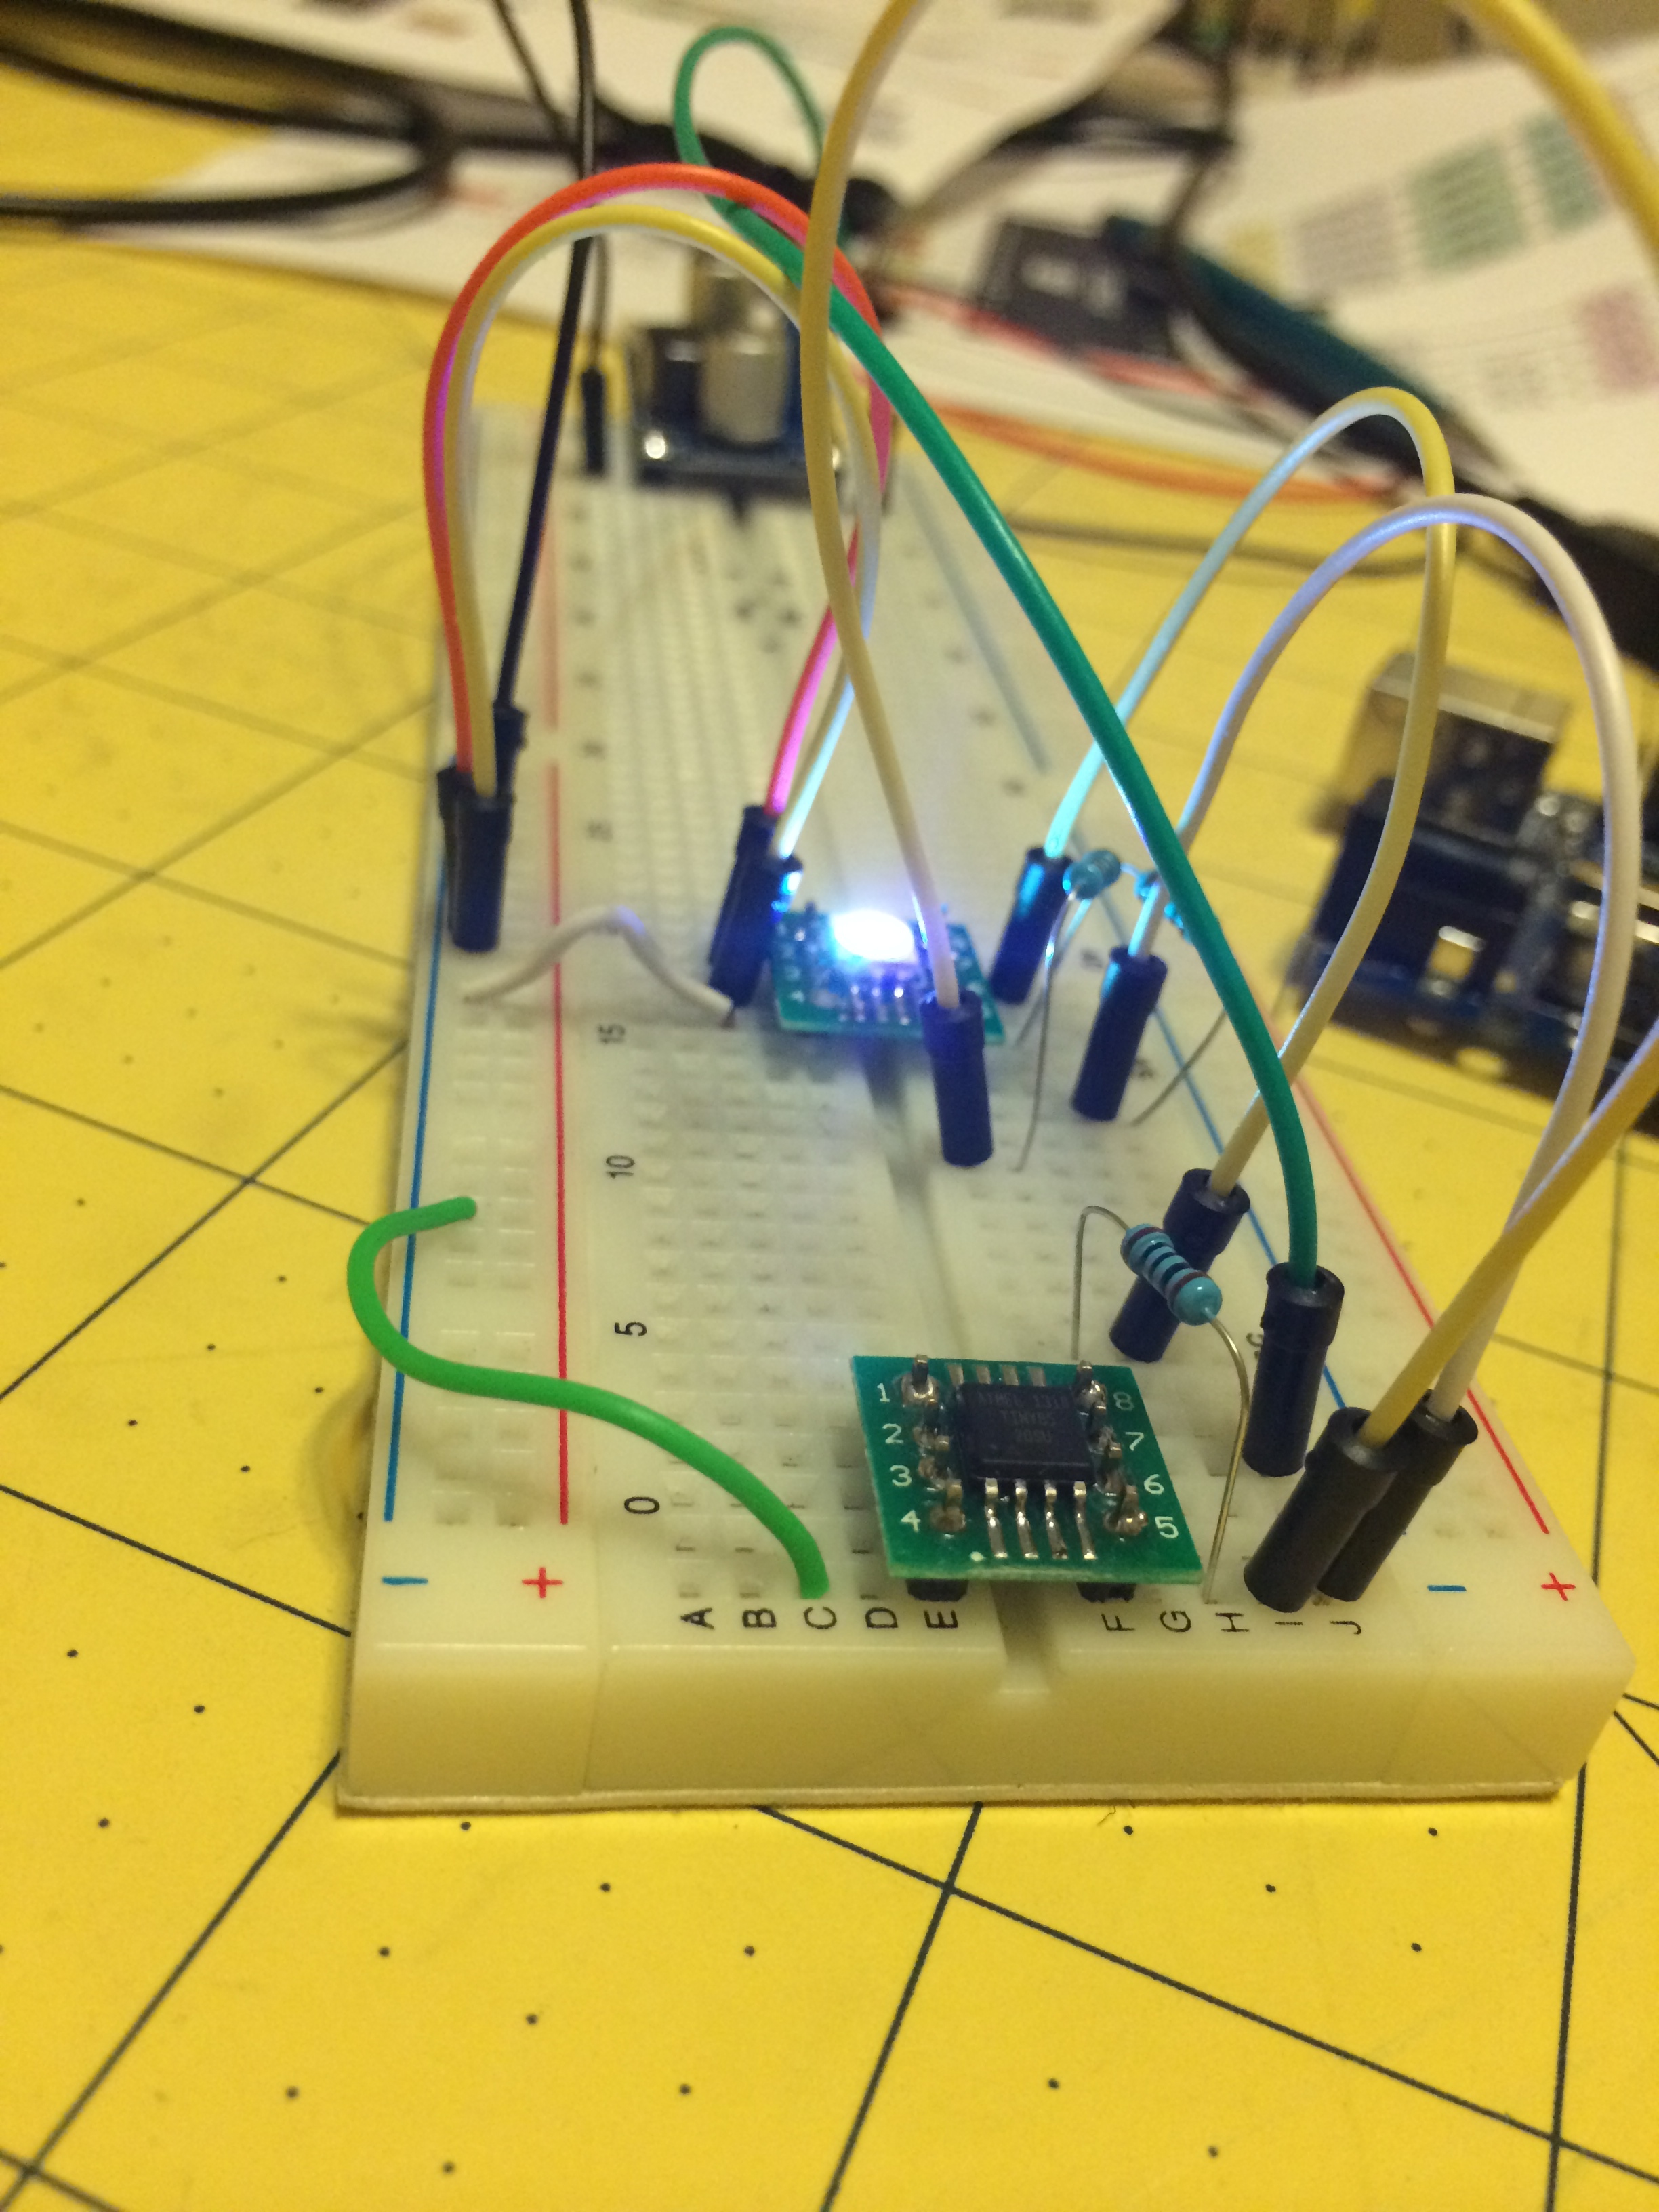
I like small electronics so when i found a sketch to make a Apple like breathing light (thanks Jeremy Saglimbeni) I decided I wanted to make it, but small. So I looked around and found a SOIC sized tiny85 chip I had laying around.
THE SKETCH
/*
"Breathing sleep LED, like on a Mac.
Jeremy Saglimbeni 2011
thecustomgeek.com
Modified by Darren Mason 2014 bitcows.com
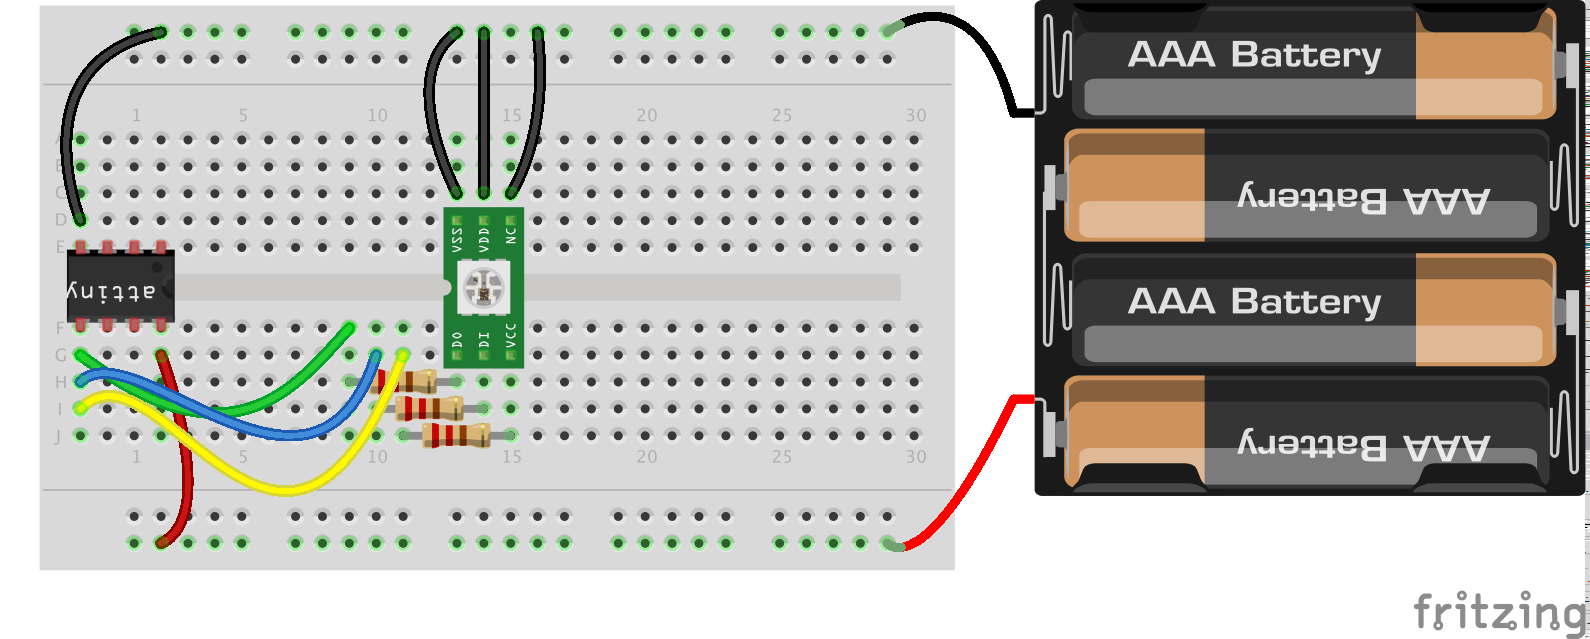
LED is attached to pin 11 in series with a 5.6K resistor
*/
int i = 0;
int LED_PIN = 0; //tiny85 pin 6
void setup() { // bring the LED up nicely from being off
for(i = 0 ; i <= 15; i+=1)
{
analogWrite(LED_PIN, i);
delay(5);
}
}
void loop()
{
for(i = 15 ; i <= 255; i+=1)
{
analogWrite(LED_PIN, i);
if (i > 150) {
delay(4);
}
if ((i > 125) && (i < 151)) {
delay(5);
}
if (( i > 100) && (i < 126)) {
delay(7);
}
if (( i > 75) && (i < 101)) {
delay(10);
}
if (( i > 50) && (i < 76)) {
delay(14);
}
if (( i > 25) && (i < 51)) {
delay(18);
}
if (( i > 1) && (i < 26)) {
delay(19);
}
}
for(i = 255; i >=15; i-=1)
{
analogWrite(LED_PIN, i);
if (i > 150) {
delay(4);
}
if ((i > 125) && (i < 151)) {
delay(5);
}
if (( i > 100) && (i < 126)) {
delay(7);
}
if (( i > 75) && (i < 101)) {
delay(10);
}
if (( i > 50) && (i < 76)) {
delay(14);
}
if (( i > 25) && (i < 51)) {
delay(18);
}
if (( i > 1) && (i < 26)) {
delay(19);
}
}
delay(970);
}
THE SOFTWARE
The next we need to do is put the bootloader on this chip. To do this you will need to place the attached code in the following location. The default location on a MAC is /Users/[YOUR USER NAME]/Documents/Arduino/hardware
ARDUINO
Now lets open up the Arduino programmer app.
You need to set up your arduino first in order to program by choosing the sketch ArduinoISP: File > Examples > ArduinoISP
Make sure you have your Arduino board correctly choosen: Tools > Boards > Arduino UNO
Then make sure your programmer is set to Arduino as ISP: Tools > Programmer > Arduino as ISP
Then load the sketch to your Arduino
Once that is complete you are ready to bootload your chip. Assuming everything is connected correctly choose your ATtiny85 board from the Boards menu: Tools > Boards > ATtiny 25/45/85
Then run the Burn Bootloader command: Tools > Burn Bootloader
This will set up the chip to run correctly.
You should see your Arduino’s lights flicker for a few seconds with no errors in the console and that’s it. You have bootloaded your ATtiny85 chip. Now with this same set up you can put any program you like on that chip. Then disconnect the Arduino and you should see your program running with only power supplied to it.
Lastly put your sketch on the chip
File > Upload Using Programmer
Ok i know this is an RGB LED with one source so its white but its just the light i had.