
Prerequisites
– An Appcelerator account
– Be logged in
API’s
Building on our last 3 tutorials, its now time to add in some API’s.
To create a new API Builder application. Start by opening a Command prompt navigating to the file you want to store your new project in and type:
appc new
This will auto generate a API builder framework for us to run locally in order to add models and create API’s.
Now change to the new directory and type:
appc run
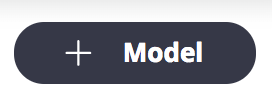
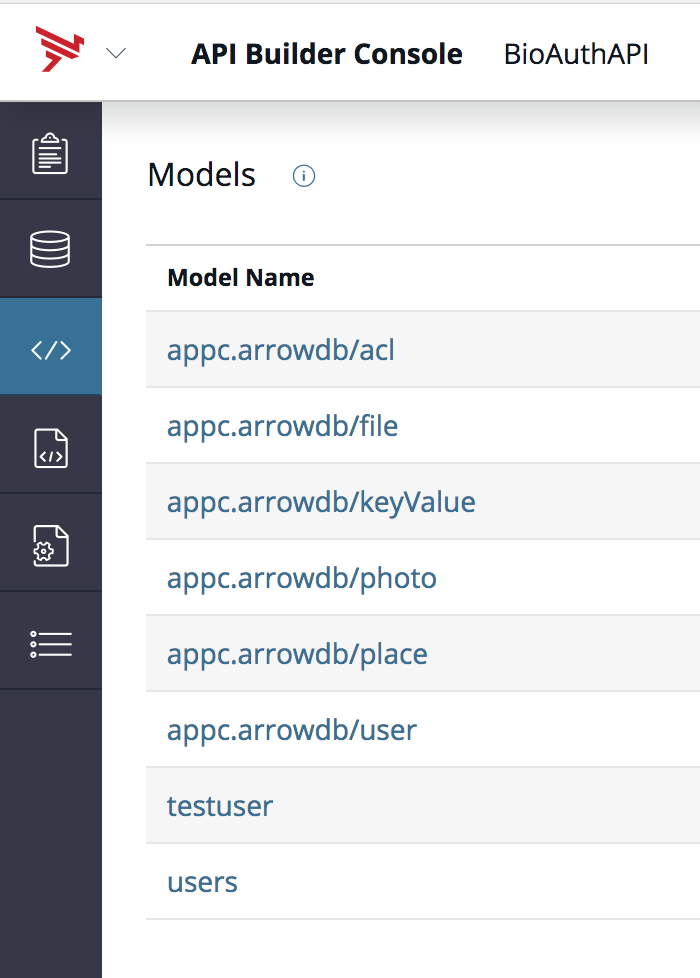
This will start up our app server so we can go and explore our new project. Navigate to http://localhost:8080/console/project/models and create a new model called UserStats.
Use the default connector appc.arrowdb
Next add new fields by clicking the field button 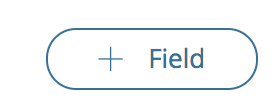
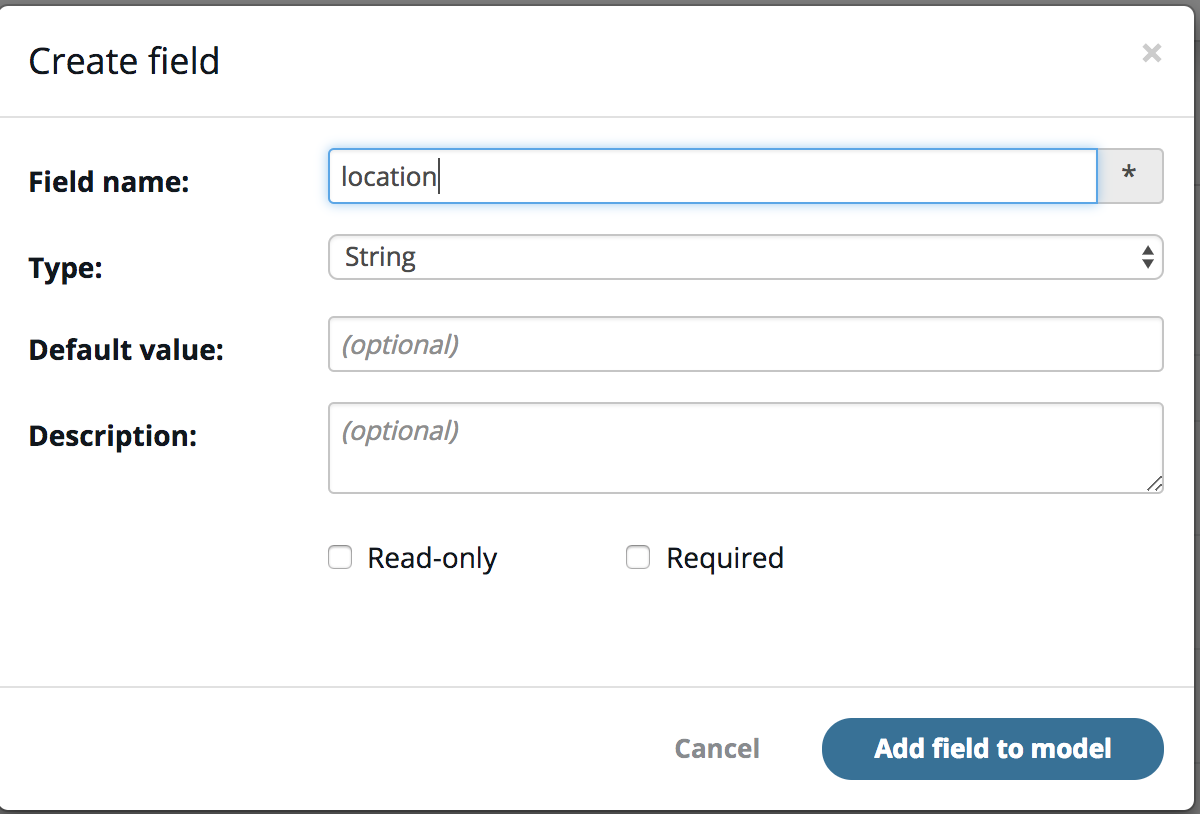
Add fields:
name,phone,location,status
Then continue through the wizard by clicking the next button.
Finally click the save button and you will see your server will restart and there you have it a new model has been created. You can see this model in your local file system. [YOUR PROJECT ROOT]/models/UserStatus.js. There you will see the fields and actions you created for this model.
By default this will also generate your endpoints that you specified on the last screen (typical CRUD endpoints). From here you can extend it and join other model and create business logic. But that is not what we are going to cover in this tutorial. (Moving on…)
Adding A New File
We are going to add a new file to our project called restapi.js. This will file is going to handle all our interaction with the API via backbone.js. Get the RestAPI sync adapter for titanium alloy framework. If you want to learn more about how that file works I suggest looking at that sites docs. Its basically just leveraging the Backbone.js framework to call our API’s.
Add that file to your assets/alloy/sync directory.
Changes
Next we will change the config portion of your userModel to point to our new API.
userModel.js
config: {
	URL: "http://localhost:8080/api/UserStats",
	adapter: {
		type: "restapi",
		collection_name: "userModel",
		idAttribute: "id"
	},
	headers: {
	    "Authorization": 'Basic ' +
	    Ti.Utils.base64encode('sYf7+0BpSouyN7Qk7gUbglMPZuJAXgENBihcZ:'), //this will be YOUR key
	}
}
NOTE: make sure you put your auth code in not mine. And if you are running this on the simulator and its not working try changing the domain from localhost to the IP address of your host machine.
Now that we are no longer using our mock data remove everything from the alloy.js file that had to do with it. So its back to:
alloy.js
Alloy.Globals.isIphoneX = (Ti.Platform.displayCaps.platformHeight == 812);
OH CRUD! VIEW
Lets create a new data entry form. Start by adding a new button view to the top of our code above the ListView. Then at the bottom of the file we will add the modal view. Then we can animate this up when click the Add User button.
userList.xml
<View id="addNewBtnView">
	<Button onClick="showHide" title="Add User" id="addNewBtn"/>
</View>

<View id="createNewModal">
	<ScrollView id="createNew" layout="vertical">
		<Label id="detailName">
			NAME:
		</Label>
		<TextField id="name"/>
		<Label id="detailStatus">
			STATUS:
		</Label>
		<TextField id="status"/>
		<Label id="detailPhone">
			PHONE:
		</Label>
		<TextField id="phone"/>
		<Label id="detailLoc">
			LOCATION:
		</Label>
		<TextField id="loc"/>
		<View layout="horizontal" id="btnsView">
			<Button onClick="doCreate" title="Create" id="createBtn"/>
			<Button onClick="showHide" title="Cancel" id="cancelBtn"/>
		</View>
	</ScrollView>
</View>
Next lets take a look at our controller. Start by adding a couple of variables at the top. One will be a boolean to keep track of our add new window. And this other will be a namespace object to make our important functions private.
userList.js
var wasShown = false,
    tiUserList = {};
Next lets add our private functions. The important one here is our createNewUser function. Basically we are going to modify our backbone model and and save and refresh it. So first we will create a new model object to store our content in. Then when we call save it will call upon our restapi.js to do some heavy lifting. This triggers the create (POST) in the restapi.js and posts our task to our API.
userList.js
(function main() {
        //reload data each time
	$.userList.addEventListener('focus', function() {
		Alloy.Collections.userModel.fetch();
	});

	// Hide nav bar
	if (OS_IOS) {
		$.userList.hideNavBar(true, {
			animated : false
		});
	}

	Alloy.Collections.userModel.fetch();

	tiUserList.createNewUser = function() {
		if ($.name.value) {

			var model = Alloy.createModel("userModel");
			// saves it to the collection triggers a change event calls backbone sync to cloud for create
			model.save({
				"name" : $.name.value,
				"phone" : $.phone.value,
				"location" : $.loc.value,
				"status" : $.status.value.toLowerCase()
			},success : function(model, response, options) {
				Alloy.Collections.userModel.fetch();//update model with latest ids
		        }
			});

			//clear dataa
			$.name.value = "";
			$.phone.value = "";
			$.loc.value = "";
			$.status.value = "";
                        showHide();//hide pop up
		} else {
			alert("Enter a name!");
		}
	};
These next functions are helper functions to hide and show the keyboard and add user form.
userList.js
	tiUserList.showHideCreate = function(isShown) {

		var t = isShown ? 0 : "100%";

		var animation = Ti.UI.createAnimation({
			top : t,
			duration : 400
		});

		$.createNewModal.animate(animation);

		wasShown = isShown;
	};

	/**
	 * simple way to drop the keyboard
	 */
	tiUserList.hideSoftKeyboard = function() {
		if (OS_ANDROID) {
			Ti.UI.Android.hideSoftKeyboard();
		} else {
			$.name.focus();
			$.name.blur();
		}
	};
Lastly we have the doUserDetail from before only now its more hidden.
userList.js
	tiUserList.doUserDetail = function(e) {

	var json = Alloy.Collections.userModel.at(e.itemIndex).toJSON();
	var opts = {
			"id" : json.id,
			"name" : json.name,
			"status" : json.status,
			"phone" : json.phone,
			"location" : json.location
	},
	controllerNm = "userDetails";

	//Used for real buttons
	if (OS_IOS) {
		Alloy.Globals.pushViewOnController(controllerNm, opts);
	} else {
		var win1 = Alloy.createController(controllerNm, opts).getView();
		win1.open();


	};

})();
The next three functions are our public functions that the UI is meant to call. They intern just call our private ones.
userList.js
/***
 * Opens window to the user details
 * @param {Object} e
 */
function userDetail(e) {
	tiUserList.doUserDetail(e);
}

/***
 * Opens the create user view
 * @param {Object} e
 */
function showHide(e) {
	//show new user form
	tiUserList.showHideCreate(!wasShown);
	//quick way to drop the keyboard
	tiUserList.hideSoftKeyboard();
}

/**
 * Calls private function to create a new user in our model via the API
 * @param {Object} e
 */
function doCreate(e) {
	tiUserList.createNewUser();
	showHide();
}
Moving on to update
Lets change our details screen now to allow us to update a user’s info.
userDetails.xml
(function main() {
	//global way of accessing model
	Alloy.Models.userModel.clear();
	Alloy.Models.userModel.set($model.toJSON());
})();

function startUpdate() {
 // show edit view
 if ($.infoView.visible) {
	$.editView.setVisible(true);
	$.infoView.setVisible(false);
 } else {

	var opts = {
		"id" : $model.toJSON().id,
		"name" : $.nameTxt.value,
		"phone" : $.phoneTxt.value,
		"location" : $.locTxt.value,
		"status" : $.statusTxt.value.toLowerCase()
	};

	// saves it to the collection triggers a change event calls backbone sync to cloud for create
	Alloy.Models.userModel.save(opts, {
		success : function() {
			Alloy.Collections.userModel.add(Alloy.Models.userModel); //set updated model back into collection
			$.editView.setVisible(false);
			$.infoView.setVisible(true);
		}
	});
 }
}
userDetail.xml
<Alloy>
 <Model src="userModel"/>
  <Window class="container" id="userDetails" title="User Details">
   <Button title="Update" onClick="startUpdate" id="updateBtn"/>
    <View layout="vertical" id="infoView">
      <Label text="NAME: {userModel.name}"/>
      <Label text="STATUS: {userModel.status}"/>
      <Label text="PHONE: {userModel.phone}"/>
      <Label text="LOCATION: {userModel.location}"/>
     </View>
     <View layout="vertical" visible="false" id="editView">
      <Label text="NAME:"/><TextField value="{userModel.name}" id="nameTxt"/>
      <Label text="STATUS:"/><TextField value="{userModel.status}" id="statusTxt"/>
      <Label text="PHONE:"/><TextField value="{userModel.phone}" id="phoneTxt"/>
      <Label text="LOCATION:"/><TextField value="{userModel.location}" id="locTxt"/>
    </View>
   </Window>
</Alloy>
Delete
The easiest thing to do next is delete. Appcelerator had a build in delete listener on the ListItem that we can use to do our deletes. On our View the only thing we need to add is an attribute called canEdit which tells the ListView that we will be able to delete a line. Once that is there the rest is pretty much built in. All we need to do next is add an event listener to our ListView listening for the delete event and use the build in backbone destroy method to handle our model manipulation and API calls. The only thing we want to do here special is add wait:true that waits for the server to respond before removing the model from the collection.
<ListItem status:image="/images/{status}.png" name:text="{name}" height="50" accessoryType="Ti.UI.LIST_ACCESSORY_TYPE_DISCLOSURE" canEdit="true"/>
//Listen for deletes
	$.userListView.addEventListener("delete", function(e) {

        var m = Alloy.Collections.userModel.at(e.itemIndex);
        m.destroy({
        	wait:true,
        	success : function(){
        		alert("User removed!");
        	},error: function(){
        		alert("There was a problem removing user.");
        	}
        }); //delete user from API

    });