Electronic badges have been gaining popularity for the last few years at conferences like Defcon and Hackaday’s Superconference, taking badge making to new heights.
I wanted to try my hand at making custom badge pins for our 2020 Sales Kickoff in January, but needed to stick with something a little more basic. I started with our Axway Griffin Lab and Catalysts logos, then started thinking about how I could make the 2D graphics come to life with lights and flare.


I started by going into Photoshop and mocking up a few design ideas in order to figure out how to make the logo work as a badge. After mocking up the ideas I separated out all the layers into SVG files in order to create import scripts I could use in my Eagle Cad program. Using an online tool to convert SVG to Eagle Cad scripts I was able to make the files that would make up the PCB layers of my boards.
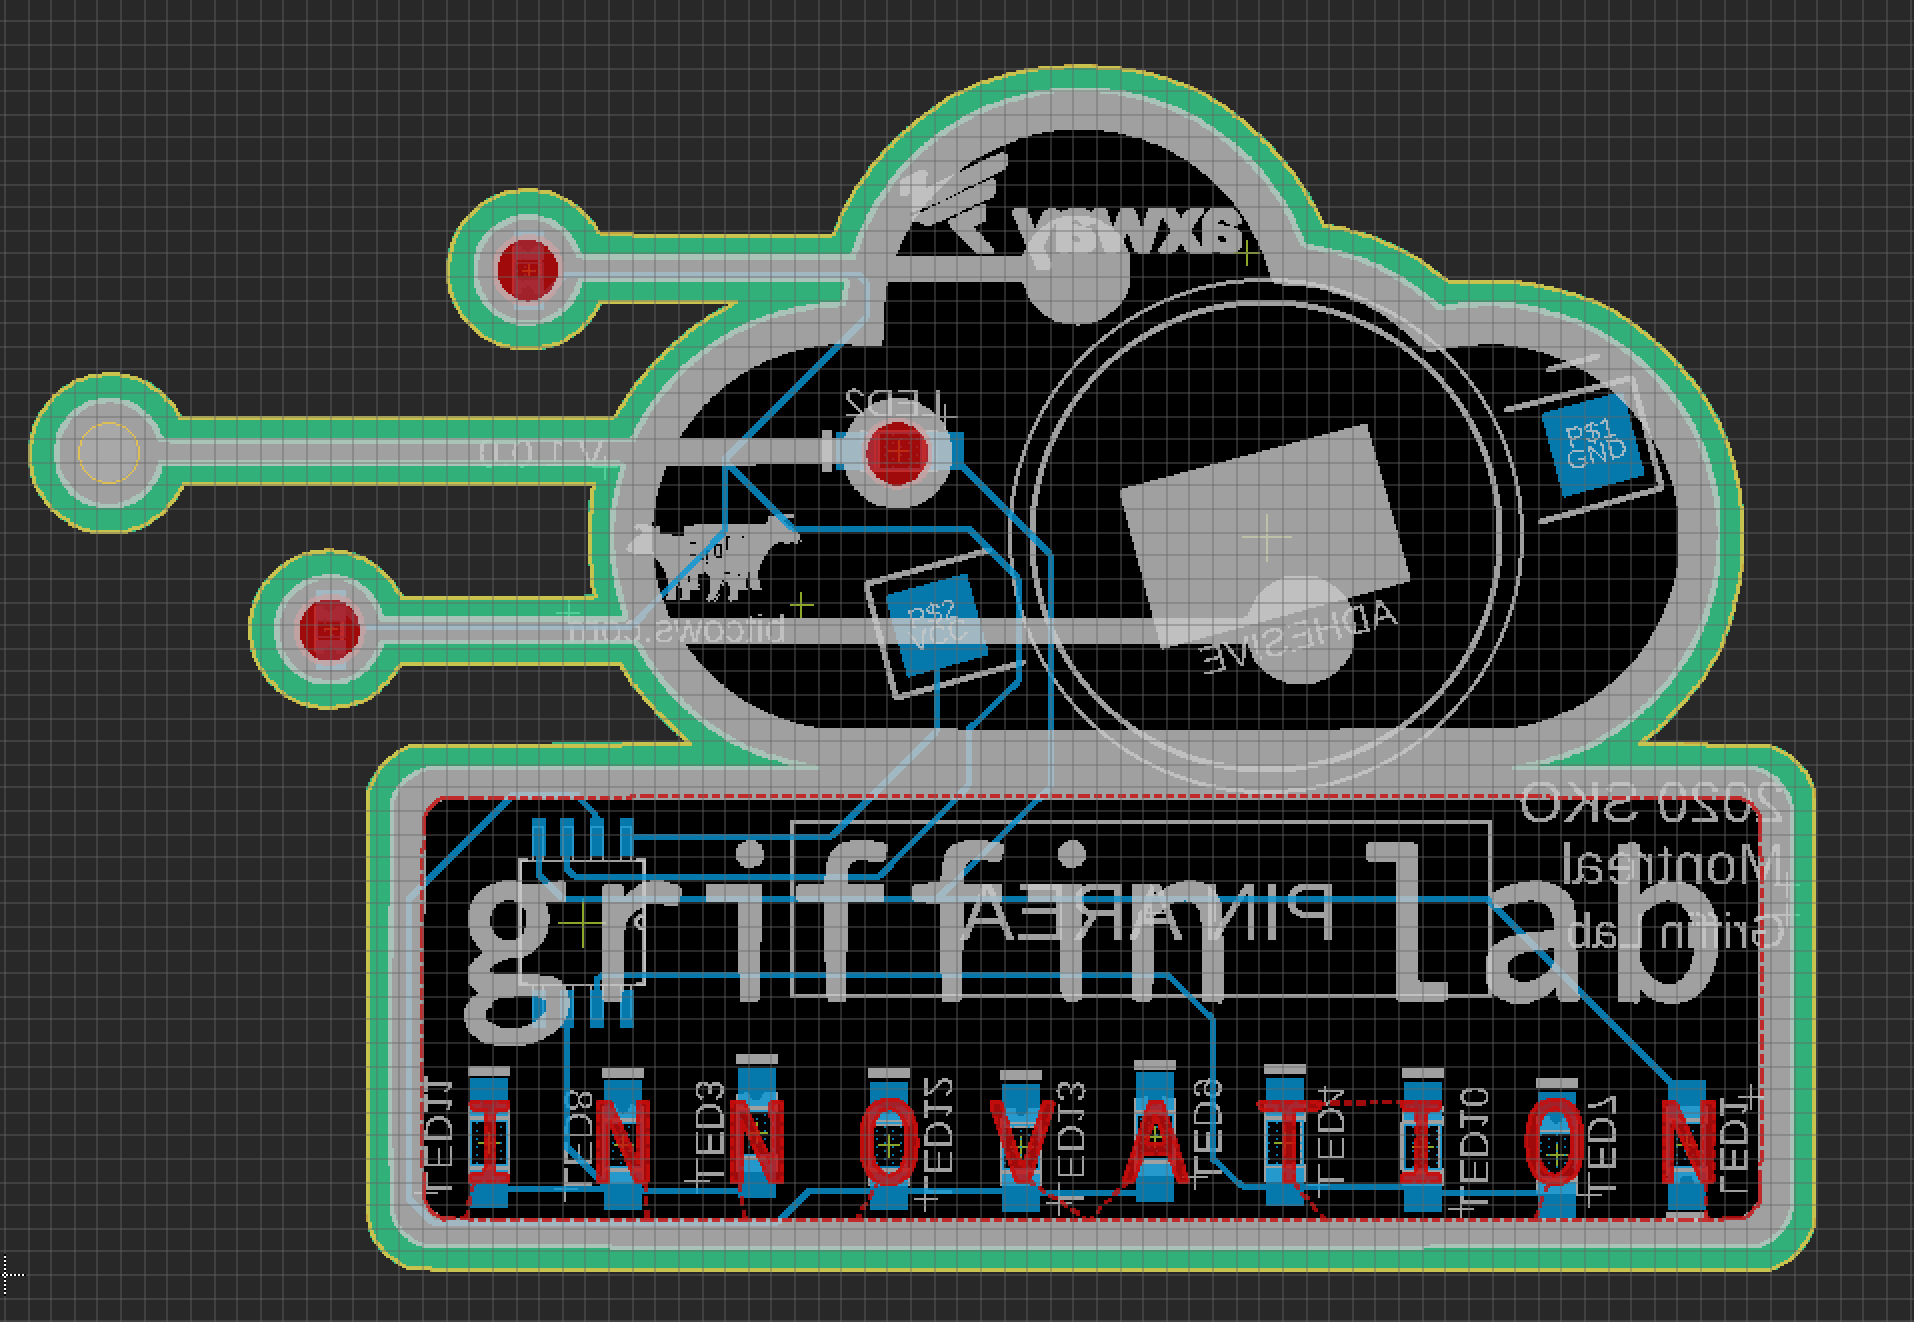
Next, I needed to figure out how I could drive the lights to make them function. I wanted to use a small inexpensive microcontroller so I landed on the ATMel ATTiny 85. This microcontroller is easy to work with and has 6 digital outputs I could use. It’s also capable of a lot of other Arduino like functionality that could be incorporated for future mods. The next step was to lay out all my components and wire them up.
After all the connections were made and I had a layout I liked, I then wanted to 3D modeled it to get a better feel for the look of it.
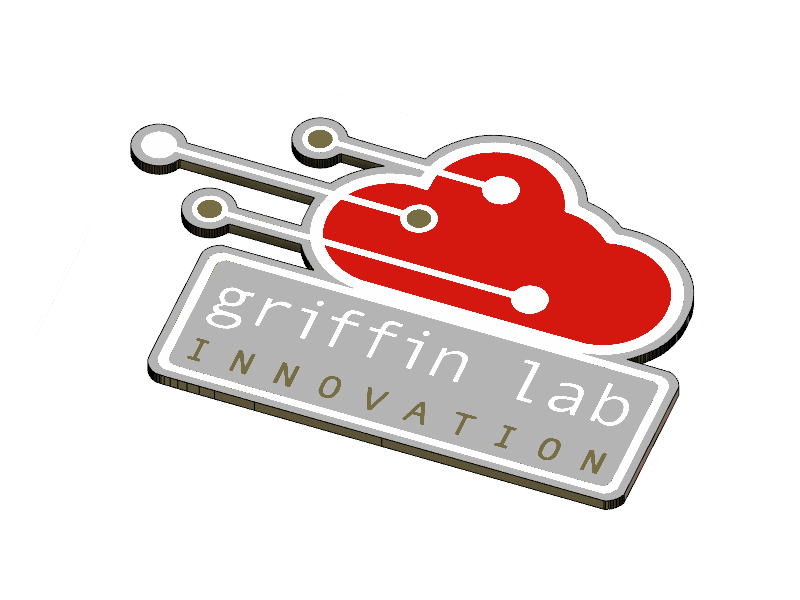

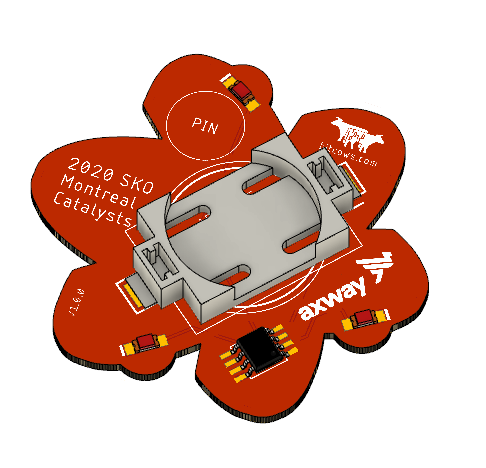

I also 3D printed a badge to get a physical feel for the size of it.

Once I was happy with the size proportions it was time to go to manufacturing. This process takes about a week and the results are really amazing. Taking a project from idea to a physical thing you can hold in your hand never gets old.
The last phase of the process is to solder together all the parts and programming the chip, and just like that its complete!