
Syncplicity is a file share and synchronization service developed by Syncplicity Inc. The service lets users store and synchronize files between computers. It supports Microsoft Windows and macOS. They also have an API that will allow you to manage your folders and files.
API version used in this example was 1.3.11
Before you begin
Prerequisite
Before you start developing agains most any API you need to sign up for a developer account. Syncplicity is no different. So before you start this you need to make sure you sign up for an account. Use this link follow the instructions to get started with your Syncplicity account.
Assumptions
- Appcelerator account with studio installed
- Knowledge of Appcelerator studio or eclipse
- Some JavaScript Skills
- Some basic API knowledge
I’m not going to go into great depth on how to set up Syncplicity accounts, there is a whole site dedicated to that.
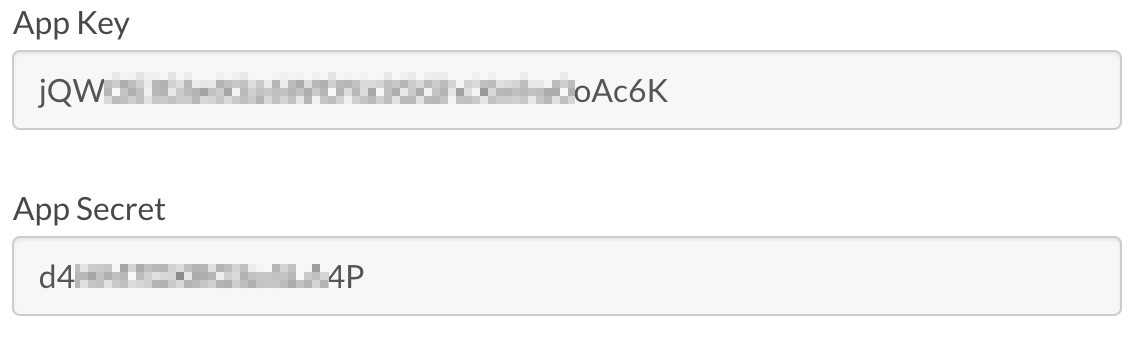
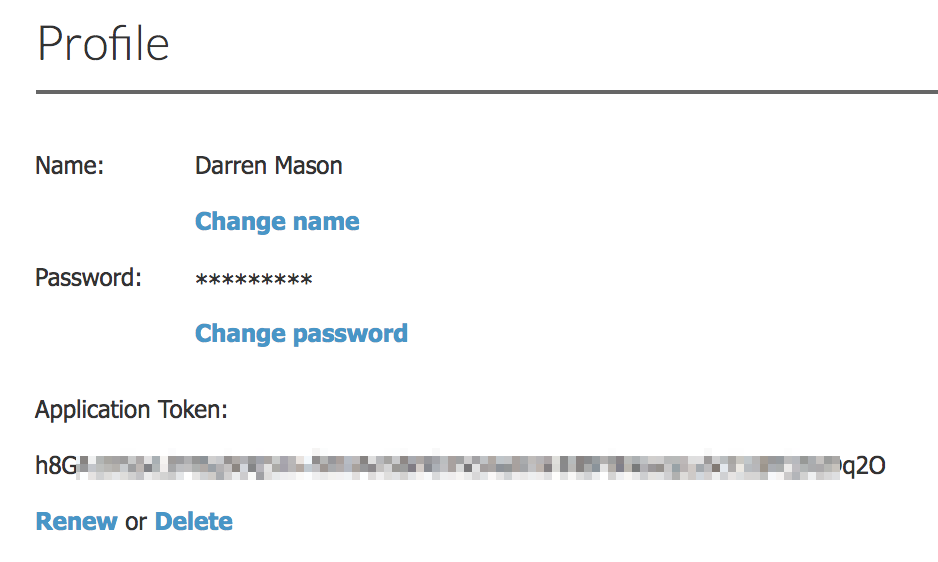
Once you have your account set up you will need to create an App in the Syncplicity Dev Account. Then you will need 3 main things. AppKey and SecretKey from your developer account. The Authorization Token from your sandbox account.
- AppKey
- SecretKey
- Authorization Token
From Developer Account
From Sandbox
For more details on how to do that.
ONE GOTCHA! This is not really well documented but base on your account and where you are located you might be using the US version or the EU version of the API’s. Look at your account url if you see the EU in the url then you are using the European version and your endpoints will change. So if you are using the EU version you will need to add .eu to your endpoints like this…
https://api.eu.syncplicity.com
otherwise it will be this
https://api.syncplicity.com
Once you have your account set up you are ready to start accessing the API’s
Lets code
So first create a new Mobile App Project File > New > Mobile App Project
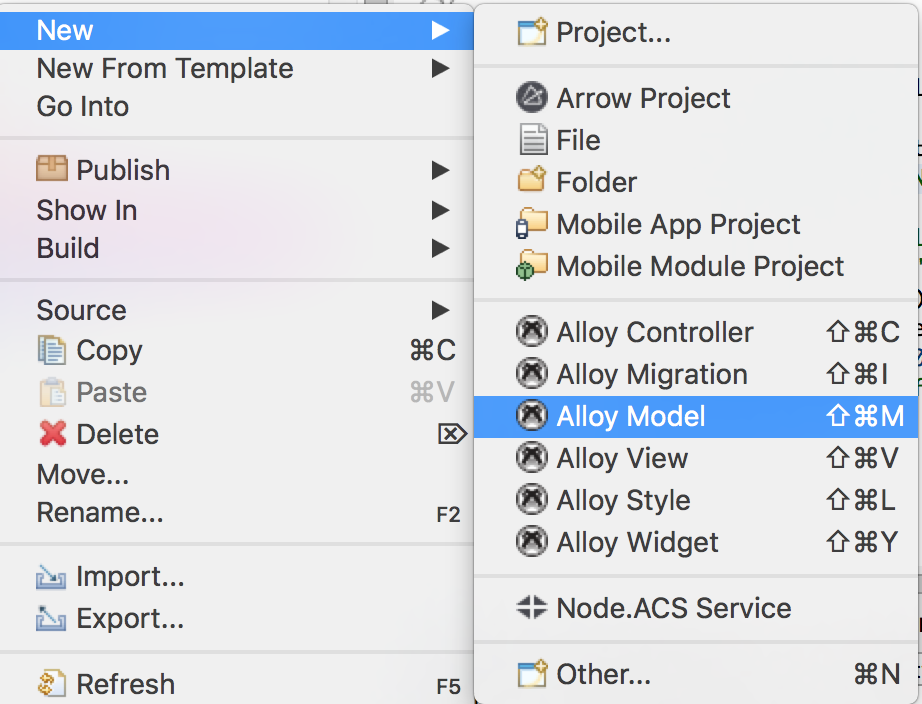
Once you get that created we can create a couple of models. Auth, and Folders.
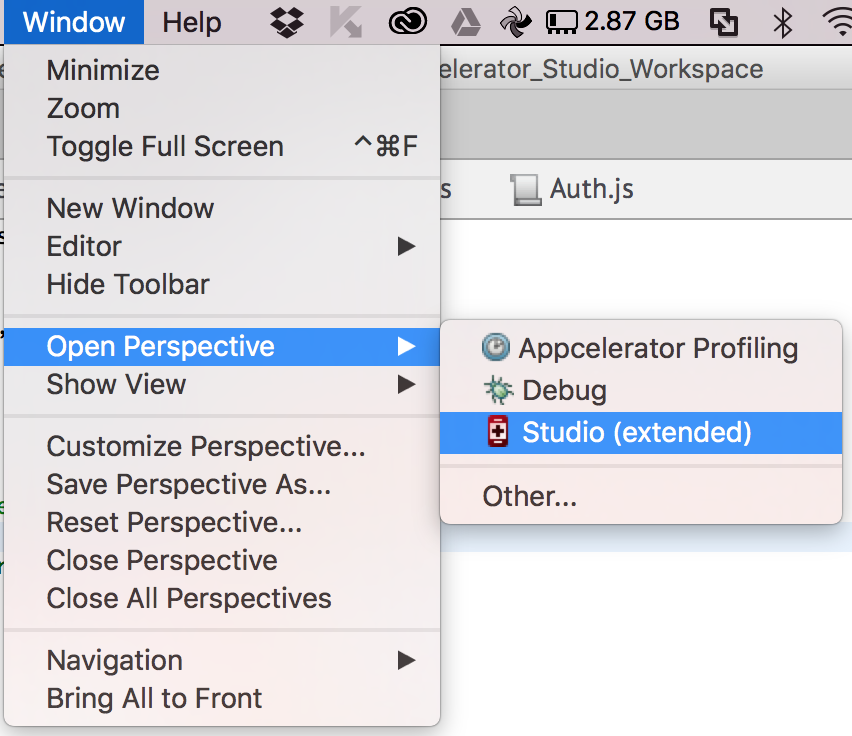
The easiest way to create a model is to put yourself in the studio extended perspective.
Models
Then you will be able to create a new model using new. This will stub out a basic model. Choose the sql adapter because it doesn’t matter we will be changing it.
After you have created a generic model we will modify it to look like the ones below. We are changing the adapter to restapi (more about that in a min) and adding a URL property, and for thhe Auth model we will delete the extendCollection function.
Add the correct URL’s in the models. For Auth the URL is
https://api.eu.syncplicity.com/oauth/token
or
https://api.syncplicity.com/oauth/token
if you’re in the US
In our example we have some parameters that we will pass to do this dynamically when we call our fetch. (more about that later).
Auth.js
exports.definition = {
	config: {
	    URL : "{domain}oauth/token",
		adapter: {
			type: "restapi"
		}
	},
	extendModel: function(Model) {
		_.extend(Model.prototype, {});
		return Model;
	}
};
Do the same thing for Folders.
On Folders leave the extendCollections function
Add the correct URL’s in the models. For Auth the URL is
https://api.eu.syncplicity.com/syncpoint/syncpoints.svc/
or
https://api.syncplicity.com/syncpoint/syncpoints.svc/
if you’re in the US
Folders.js
exports.definition = {
    config : {
        debug : true,
        URL : "{domain}syncpoint/syncpoints.svc/",
        adapter : {
            type : 'restapi',
            collection_name : 'folders',
            idAttribute : "id"
        }
    },
    extendModel : function(Model) {
        _.extend(Model.prototype, {});
        return Model;
    },
    extendCollection : function(Collection) {
        _.extend(Collection.prototype, {});
        return Collection;
    }
};
restapi.js
restapi.js is our adapter that will handle all our API HTTP traffic. Appcelerator uses backbone.js as a way to manage your data and help bind data to our views. The restapi.js file overrides the the Sync function of backbone to make HTTP calls based on what we do on the models and collections. For instance a fetch translates to a GET call of the model we are calling fetch on.
You will need to download that file here and add it to your assets.
app/assets/alloy/sync/restapi.js
View
Let’s look at the view. We want to set up a Button and a ListView
<Alloy>
    <Collection src="folders"/>
    <Window class="container" layout="vertical">
        <View id="interactionView" visible="false" layout="vertical">
            <Button id="label" onClick="getFolders">Get Folders</Button>
        </View>
        <ListView defaultItemTemplate="template" id="empList">
            <Templates>
                <ItemTemplate name="template">
                    <ImageView bindId="img" class="folderIcon"/>
                    <Label bindId="name" class="folderName"/>
                </ItemTemplate>
            </Templates>
            <ListSection dataCollection="folders" dataTransform="transformFunction" id="foldersList">
                <ListItem img:image="/images/folder.png" name:text="{Name}" syncPointId="{Id}" itemId="{RootFolderId}" canEdit="true"/>
            </ListSection>
        </ListView>
    </Window>
</Alloy>
The <Collection src="folders"/> Tag will be used to initialize our folder collection so we can bind it to our view. Then in our ListItem we use dataCollection to tell the item to use that Folder collection object. We will bind the Name, Id, and RootFolderId.
The button to get the folders.
<Button id="label" onClick="getFolders">Get Folders</Button>
Controller
The first thing you will need to do in your controller is get the Auth token for our API’s. I put this in a self calling function (function main(){})();
First create a model var auth = Alloy.createModel("auth"); then call fetch which will trigger the Sync function and redirect to the HTTP GET for our first API call.
Lets look at what we are passing. Our data obj
var data = {
    "grant_type" : "client_credentials"
};
is the body of the request. For this call we need to use a POST fetch which is also like a save. But in order to make a fetch a POST we need to set requestMethod : 'POST',.
In order to get the domain to our models we do that like this.
requestparams : {
   "domain" : domain
}
Then we set our headers: Authorization, Sync-App-Token, and Content-Type.
The Authorization comes from the 64 encoding of a combo of the AppKey and AppSecret See details
Lastly a success, and error function. In the success we will set our authorization Bearer Key and the appKey.
//get auth token
    var data = {
        "grant_type" : "client_credentials"
    };

    var auth = Alloy.createModel("auth");
    auth.fetch({
        data : data,
        requestMethod : 'POST',
        requestparams : {
            "domain" : domain
        },
        headers : {
            "Authorization" : "Basic alFXT0VJzR0doYb0FjNks6ZDRITTdEWFJHU281TEE0UA==",
            "Sync-App-Token" : "h8GA1DSjvL2M5gStXj5HmLybcCUjPCjDzDq2O",
            "Content-Type" : "application/x-www-form-urlencoded"
        },
        success : function(model, response, options) {
            authorization = "Bearer " + response.access_token; //global var
            appKey = response.client_id; //global var
            //load storage info
            storageendpoint();
        },
        error : function(model, response, options) {
            console.log("fail");
        }
    });
Now we create a function for getting the folders. Like before we set our domain and headers. Because we created our Collection using the <Collection src="folders"/> we now can access it by Alloy.Collections.folders then calling fetch which is delegated to the Sync function in backbone. This does a GET call to our API and populates the collection which in turn binds to our ListView.
function getFolders() {
    Alloy.Collections.folders.fetch({
        requestparams : {
            "domain" : domain
        },
        headers : {
            "Authorization" : authorization,
            "AppKey" : appKey,
            "Accept" : "application/json",
            "Content-Type" : "application/json"
        },
        success : function(model, response, options) {
          // do what ever you like here the response is auto magically bound
          // to our view, so no need to manually do it here
        },
        error : function(model, response, options) {
            console.log("fail");
        }
    });
}